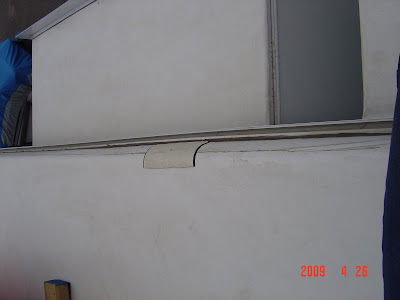
I had a good weather day today, so I dove in and got it done. I still want to use poly-fil on it later as I used short fiber filler to give it strength, and it is still a bit rough. Nonetheless, I am quite content with the short term outcome.
Here is a quick before and after:


As for the process, I have a series of nine pictures showing the process, and I will now attempt to define the steps I took.
The items I needed for the job were: short fiber fiber-fil, 50 grit sandpaper, 400 grit sandpaper, poly-fil, and spray paint made for plastics.
First I cleaned the area thoroughly. (I used goof-off as the hole has been sealed since it was punched last summer with duct tape) I then removed the rougher pieces of chips around the hole. I left most of the fibrous debris in place to reduce the actual hole needing filling.
I then used the course 50 grit sandpaper to rough the surrounding area so that it would grip the filler. After dusting the sanding off, I inserted a piece of fiberglass patch into the hole and manipulated it into place.
I mixed the hardener into the fiber mix, and applied it to the hole. I made sure to use generous amounts especially in the hole to strengthen the weakest point. I had to move fast, and ensure that all the cracks and weak spots were covered, and I had to move quickly as the filler starts to solidify before 5 minutes is up.
After letting it fully harden, I smoothed off the roughest points, and mixed a smaller batch to fill the deeper gaps and lumpy areas and let that also dry.
I then sanded it as smooth as I could, and applied the paint in even wavings of the can. Like I say, I did want to use the small hole filler, but haven't done so yet, but as you can see, it is still a whole lot better than a hole or duct taping patch. I will eventually get around to the final smoothing. :-)
I also took a picture of the much less elaborate rubber patch just to dot and cross my former loose ends. We have had a couple rains since I repaired it, and it is definitely a successful patch. This if from the roof looking across the back slides.
The final accomplishment is that I got the kayaks fastened to the roof of the fifth wheel in a fashion that has me confident that they will hold in the air flow coming at them when the rig is whipping down the highway.


How did you get that hole?!
ReplyDeleteYou're inspiring me to try to fix Miranda's poor bumper! Where did you get all the materials?
Good job!
The materials came from Canadian Tire. The hole was because the dealership didn't lengthen the pin on the fifth wheel, so when it was connected to the truck, it had only about 2 inches clearance off the box, and with the extra fuel tank on Mack's box, we took one angled corner the wrong way, and the fuel cap on the tank punched it. It did a really good job of it, didn't it??!!!
ReplyDelete